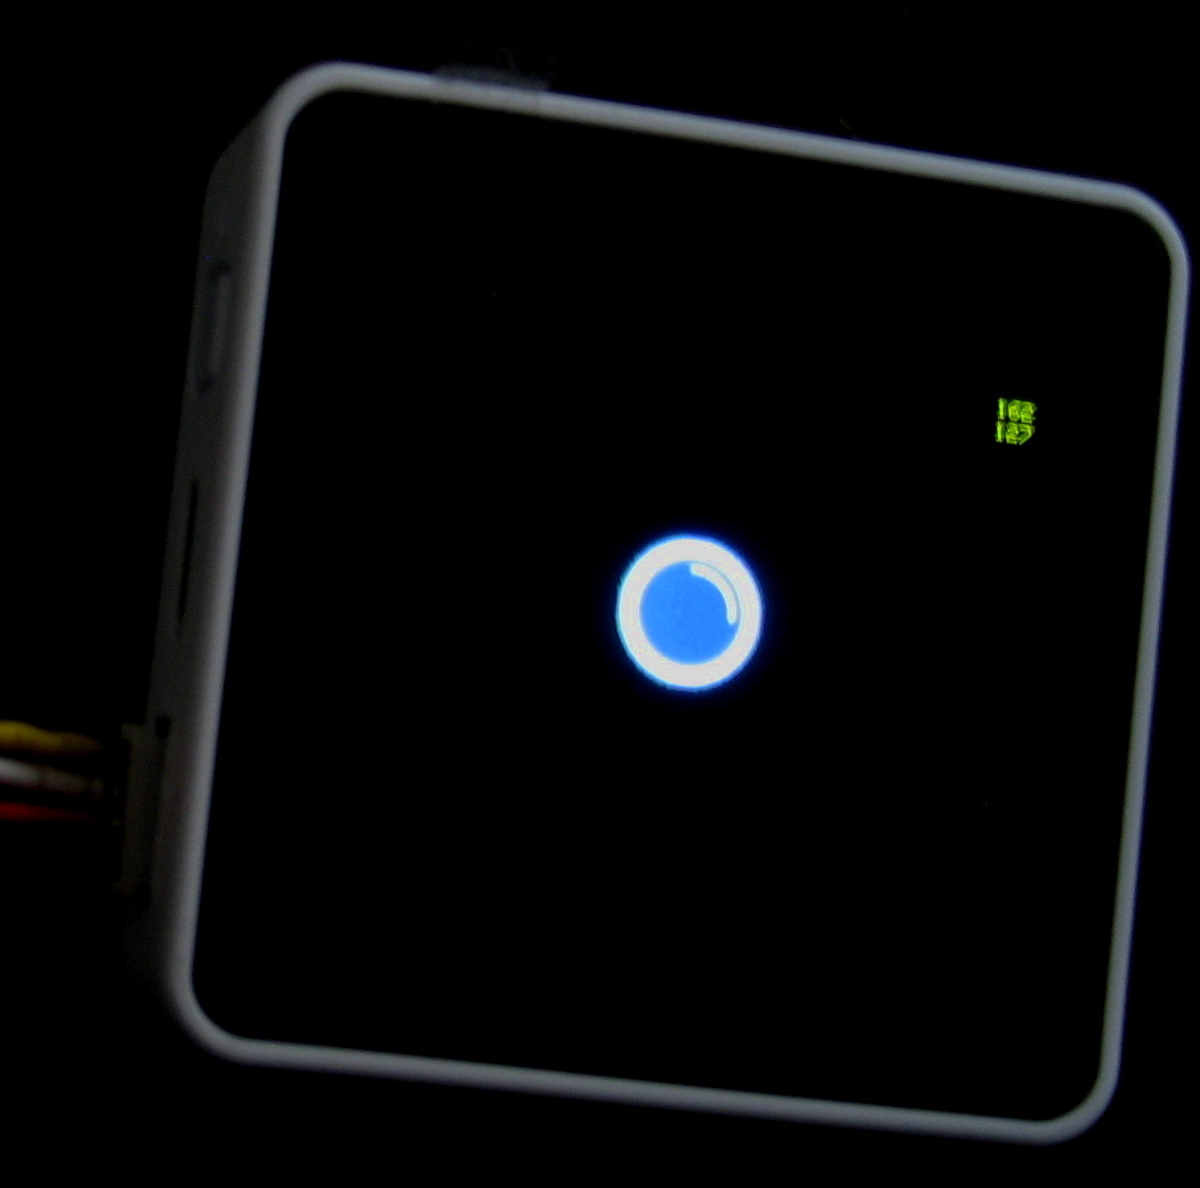
前回、ボタンを作ったので、こんどは、ボタンを押すと音声データを再生するようにしてみます。
Core2は、I2Sで音を出すようになっているので、なかなかに複雑ですが、Exampleのスケッチをこちらで用意してくれているので、ほとんど、そのまま利用させてもらいました。
また、以下のサイトも参考にさせていただきました。
M5Stack Core2のスピーカー周りを調べる | Lang-ship
M5Stack ATOM EchoにWaveファイルを埋め込んで再生する | Lang-ship
あとは、WAVファイルからデータを作成するところですが、SDカードから読み込んで再生する方法と、プログラムにデータを埋め込んで再生する方法があるようです。
Exampleは、データを埋め込むタイプです。
音楽とかを再生するのではなく、数秒程度の音声の再生であれば、このやり方で良いかと思います。
問題は、データを作るところですが、
まず、WAVファイルの編集ソフト(Audacityとか、何でも良い) で16ビットモノラルのWAVファイルを用意します。
この時、サンプリング周波数は、少ないほどデータ数が少なくて済みますが、音質が悪くなります。 上記、参考サイトでは、16000Hzくらいまで行けるようです。確かに、44100Hzと16000Hzのデータで比べてみたら、16000Hz では、少し、音がチリチリした感じに聞こえました。
ファイルが用意できたら、テキストデータにしますが、これも、上記の参考サイトで詳しくデータの作り方を説明してくれており、データ作成のツールまで用意してくれていますが、自分でも勉強がてら、ツールを作ってみました。(後述)
以下、スケッチ
//by Manpukukoji
//2022/05/02

#include <M5Core2.h>
#include <driver/i2s.h>
#include "pb80x80_16.h"


#define CONFIG_I2S_BCK_PIN     12
#define CONFIG_I2S_LRCK_PIN    0
#define CONFIG_I2S_DATA_PIN    2
#define CONFIG_I2S_DATA_IN_PIN 34

#define Speak_I2S_NUMBER I2S_NUM_0
#define SAMPLE_RATE 16000

#define MODE_MIC  0
#define MODE_SPK  1
#define DATA_SIZE 32

extern const unsigned char    sound2[作成した音声データのサイズ];  // Referring to external data ('Ohayo')

bool InitI2SSpeakOrMic(int mode) {  // Init I2S.
    esp_err_t err = ESP_OK;

    i2s_driver_uninstall(Speak_I2S_NUMBER);  // Uninstall the I2S driver.
    i2s_config_t i2s_config = {
        .mode = (i2s_mode_t)(I2S_MODE_MASTER),  // Set the I2S operating mode.
        .sample_rate = SAMPLE_RATE,  // Set the I2S sampling rate.
        .bits_per_sample = I2S_BITS_PER_SAMPLE_16BIT,  // Fixed 16-bit stereo MSB.
        .channel_format = I2S_CHANNEL_FMT_ONLY_RIGHT,  // Set the channel format.
        .communication_format = I2S_COMM_FORMAT_I2S,  // Set the format of the communication.
        .intr_alloc_flags = ESP_INTR_FLAG_LEVEL1,  // Set the interrupt flag.
        .dma_buf_count = 2,        // DMA buffer count.
        .dma_buf_len   = 128,      // DMA buffer length.
    };
    if (mode == MODE_MIC) {
        i2s_config.mode =
            (i2s_mode_t)(I2S_MODE_MASTER | I2S_MODE_RX | I2S_MODE_PDM);
    } else {
        i2s_config.mode     = (i2s_mode_t)(I2S_MODE_MASTER | I2S_MODE_TX);
        i2s_config.use_apll = false;  // I2S clock setup.
        i2s_config.tx_desc_auto_clear = true;  // Enables auto-cleanup descriptors for understreams.
    }
    // Install and drive I2S.
    err += i2s_driver_install(Speak_I2S_NUMBER, &i2s_config, 0, NULL);

    i2s_pin_config_t tx_pin_config;

#if (ESP_IDF_VERSION > ESP_IDF_VERSION_VAL(4, 3, 0))
    tx_pin_config.mck_io_num = I2S_PIN_NO_CHANGE;
#endif
    tx_pin_config.bck_io_num = CONFIG_I2S_BCK_PIN;  // Link the BCK to the CONFIG_I2S_BCK_PIN pin.
    tx_pin_config.ws_io_num    = CONFIG_I2S_LRCK_PIN;     //          ...
    tx_pin_config.data_out_num = CONFIG_I2S_DATA_PIN;     //       ...
    tx_pin_config.data_in_num  = CONFIG_I2S_DATA_IN_PIN;  //      ...
    err +=
        i2s_set_pin(Speak_I2S_NUMBER,
                    &tx_pin_config);  // Set the I2S pin number.
    err += i2s_set_clk(
        Speak_I2S_NUMBER, SAMPLE_RATE, I2S_BITS_PER_SAMPLE_16BIT,
        I2S_CHANNEL_MONO);  // Set the clock and bitwidth used by I2S Rx and Tx.

    return true;
}

void DisplayInit(void) {       // Initialize the display.
    M5.Lcd.fillScreen(BLACK);  // Set the screen background color to Black.
    M5.Lcd.setTextColor(YELLOW);  // Set the text color to Yellow.
    M5.Lcd.setTextSize(2);  // Set font size to 2.
}

void SpeakInit(void) {
    M5.Axp.SetSpkEnable(true);
    InitI2SSpeakOrMic(MODE_SPK);
}

void ohayo(void) {
    size_t bytes_written = 0;
    i2s_write(Speak_I2S_NUMBER, sound2, (作成した音声データのサイズ), &bytes_written,
              portMAX_DELAY);
}


HotZone B_Btn(120,80,200,160);

void setup() {
  M5.begin(true, true, true, true);  // Init M5Core2.

  M5.Lcd.drawBitmap(120,80,80,80,BB_OFF,0x2608);
    SpeakInit();
    delay(100);

}

void loop() {
  M5.update();
      TouchPoint_t pos = M5.Touch.getPressPoint();
      if(M5.Touch.ispressed()) {
        M5.Lcd.fillRect(290,10,30,30,BLACK);
        M5.Lcd.setCursor(290,10);
        M5.Lcd.print(pos.x);
        M5.Lcd.setCursor(290,20);
        M5.Lcd.print(pos.y);
      }
    if(B_Btn.inHotZone(pos)) {
        M5.Lcd.drawBitmap(120,80,80,80,BB_ON,0x2608);
        ohayo();
         M5.Lcd.drawBitmap(120,80,80,80,BB_OFF,0x2608);
        delay(100);
        }

    }
データ作成ツールは、Pythonで作ってみました。
WAV_DataGenerator.py と、言うファイル名で保存すれば、コマンドラインで入力エラーしたときのメッセージと矛盾がなくなりますが、他の名前にしたときは、9行目あたりのファイル名のところを修正しておけば良いかと思います。 まぁ、あまり機能自体に影響は無いですけどね…。
# WAV data file generator
#Manpukukoji  2022/05/02

import sys

args = sys.argv

if len(args) < 3 :
    print("ERROR : Please chedck your command!")
    print("Command :  python WAV_DataGenerator.py [wavfilename.wav] [datafilename.c]")
    exit()

WAV_File = args[1]
data_File = args[2]

data_loc = b"\x64\x61\x74\x61"  #data
fr = open (WAV_File,'rb')
fw = open(data_File,'wt')

data = fr.read()
idx = data.find(data_loc)

data_size = int.from_bytes(data[idx+4:idx+8],byteorder='little')

fw.write( 'const unsigned char sound[{}]='.format(data_size) )
fw.write('{ \n')
for i in range(data_size):
    mm = '0x%02X' % data[idx+8+i]
    fw.write(mm)
    if(i<data_size-1):
        fw.write(',')
    if((i+1) % 16 == 0):
        fw.write('\n')
fw.write('};')

fr.close()
fw.close()
最後に音声データですが、これまた、データサイズが大きすぎて掲載できないようなので、データは、自分で作ってみてください。
僕は、ここの素材をもとにデータを作ってみました。
soundeffect-lab.info
作ったデータファイルは、拡張子を"C" にして、スケッチと同じフォルダに保存しておけば、一緒にリンクしてくれるようです。
それと、ボタンのデータも前回の記事と同様にスケッチと同じフォルダに保存しておいてくださいね。
const unsigned char sound2[作成したデータのサイズ]={
.....   ここに作成した音声データを貼り付けます。.....
};